")
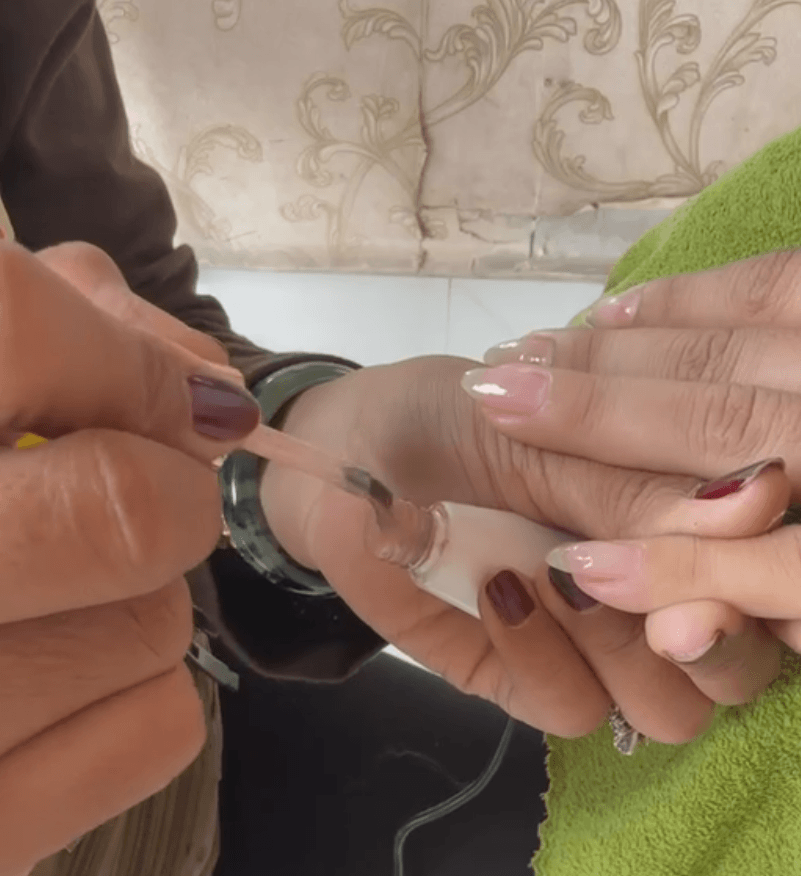
I still remember the first time I tried to paint flowers on my nails.
I was sitting with my aunt in Phnom Penh, completely confident that it would be easy.
I pressed the brush so hard that gel ended up smeared across half my fingers.
When I switched to painting lines and circles, the results were so crooked that my aunt laughed until she nearly dropped her own polish.
That was more than ten years ago.
Today, I own FYFY Beauty Salon in Battambang City and teach nail art professionally, and the single biggest lesson I have carried from those early disasters is this: beginners almost always fail because they start with the wrong design.
This guide is built around the 6 easiest nail art designs for beginners at home, chosen specifically because they forgive small mistakes, require nothing beyond what most people already have in a drawer, and genuinely look good while you are still learning.
Whether your goal is a quick DIY manicure at home or a first step toward becoming a nail technician, these are the techniques worth starting with.
Key Takeaways
- You do not need professional tools. A bobby pin, scotch tape, and a toothpick cover most of the designs in this guide.
- The step beginners skip most often is letting the base coat dry fully before moving on. Skipping it causes most of the problems.
- Six techniques are covered: single dot, dry brush graffiti nails, scotch tape diagonal, glitter fade, 5-dot flower, and negative space crescent.
- Most designs take between 2 and 10 minutes per hand.
- Several of these styles, including the single dot, negative space crescent, and glitter fade, are among the top simple nail designs trending in 2026 as part of the minimalist and quiet luxury nail aesthetic.
- If one technique does not click right away, move to the next one. Different techniques suit different hand steadiness and patience levels.
The 6 Easiest Nail Art Designs for Beginners at Home
The designs below are ordered roughly from the most forgiving to slightly more detailed.
If you are new to nail art at home, start at the top and work your way down as your confidence builds.
1. The Minimalist Single Dot
Time: Under 2 minutes per hand
Tools needed: Bobby pin, base color, contrasting polish, top coat
This was one of the first nail art techniques I ever learned, and I still teach it on the first day of every beginner class I run.
When you are new, the instinct is to go straight for something complex you saw on social media.
That almost always ends in frustration because your hands are not yet trained for fine detail work.
The single dot technique removes all of that pressure.
There is no need for straight lines, perfect symmetry, or a steady brush hand. You press a rounded tip onto your nail and a dot appears.
If one dot comes out slightly larger than the others, it reads as a deliberate design choice rather than a mistake.
This style also happens to fit perfectly into the minimalist nail art trend that has been growing throughout 2025 and into 2026.
Clean, single-color nails with a single contrasting dot are considered a hallmark of the quiet luxury aesthetic right now, which means this beginner-friendly design is also a current one.
How to do it:
- Paint your nails with a light or neutral base color and let it dry completely.
- Pull a bobby pin apart and use the small rounded tip as your dotting tool.
- Dip the tip into a bold or contrasting polish. Black, dark navy, and gold all look sharp against a pale base.
- Gently press the rounded tip onto the center of your nail to create one clean dot.
- Wait a few minutes for the dot to firm up, then carefully apply a top coat.
The tip that saves most beginners: When applying the top coat, use almost no pressure.
Let the brush glide over the dot rather than pressing into it. If you press down firmly, the bristles drag the dot sideways and smear it.
This was a mistake I made constantly when I was learning, and it is the first thing I warn my students about now.
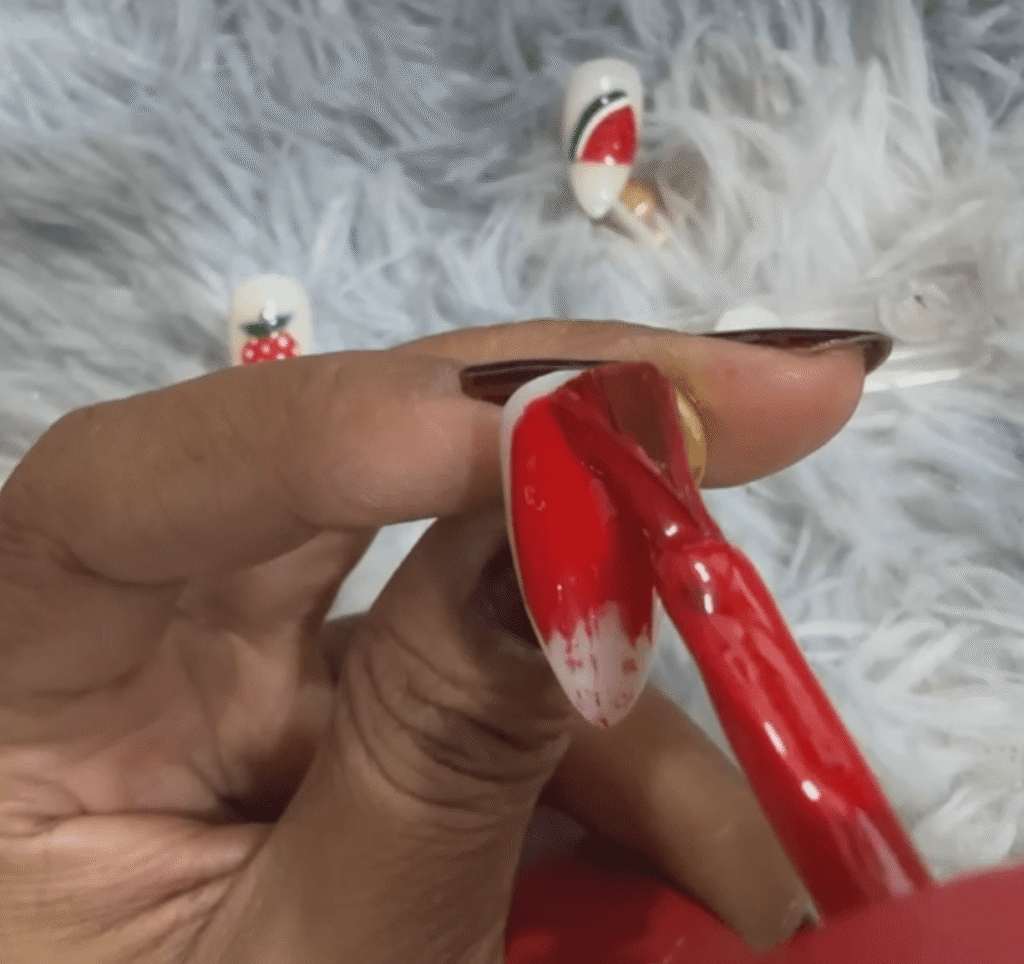
2. Dry Brush Graffiti Nails
Time: 3 to 5 minutes per hand
Tools needed: Any nail brush, 2 to 3 polish colors, top coat
Graffiti nails sound complicated, but they are probably the most beginner-proof design on this entire list.
The whole point of the technique is that it looks abstract, spontaneous, and deliberately rough.
There is no correct outcome, which means there is no way to get it wrong.
I recommend this design specifically to students who tell me they are not artistic or to anyone who needs results in a hurry.
It hides uneven polish, covers small smudges near the cuticles, and makes everything that looks accidental appear intentional.
The dry brush method also fits the mixed-finish, textured nail aesthetic that editors and nail artists have been pushing heavily in 2026.
How to do it:
- Apply a white or light-colored base coat and let it dry fully.
- Dip a brush into a vibrant polish, then wipe almost all of it off against the inside of the bottle opening. The brush should look nearly dry, with barely any visible polish on it.
- Drag the almost-dry brush across your nail in random directions. Mix vertical, horizontal, and diagonal strokes without overthinking it.
- Repeat the same wiping step with a second or third color, such as gold layered over black, or coral over white. Let the colors overlap slightly.
- Finish with a glossy top coat to pull the strokes together.
The more random your strokes, the better this design looks. Trying to control it is what makes it look less finished, so trust the process and drag freely.
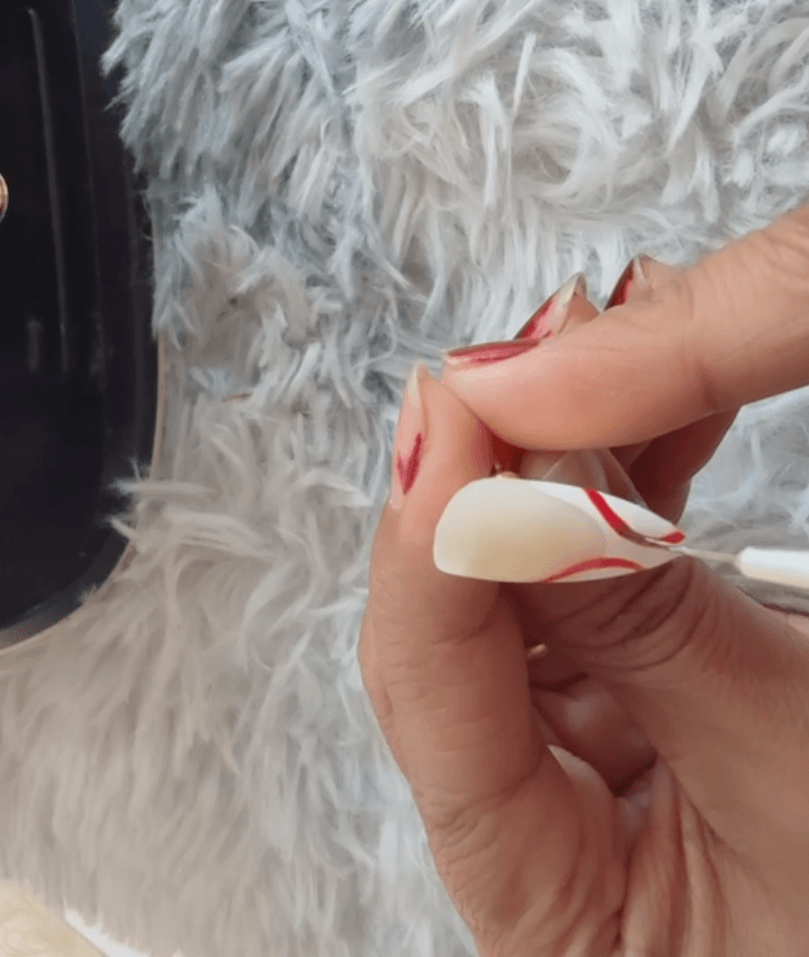
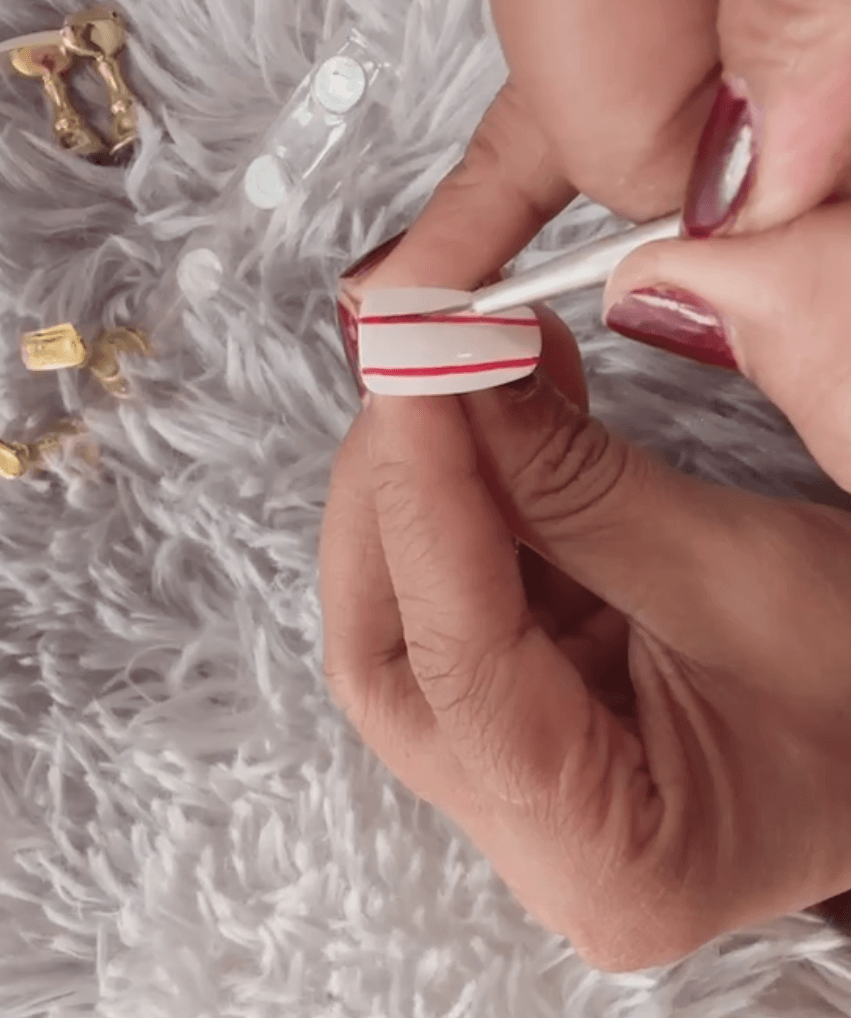
3. The Scotch Tape Diagonal
Time: 5 to 7 minutes per hand
Tools needed: Scotch tape, 2 polish colors, top coat
When my aunt first asked me to paint this design, I started calling it “The Lottery” because my diagonal lines never came out the same way twice.
Sometimes they curved.
Sometimes they were almost vertical.
She would laugh, hand me a cotton pad, and ask me to try again on a different nail.
Freehand diagonal lines are genuinely difficult for beginners, and the reason is simple: your dominant hand controls the brush, but your other hand sits still and you have to move around it at awkward angles.
Tape removes that problem entirely. You press the tape down at an angle, paint over it, peel it off, and there is a perfectly straight diagonal line every single time, regardless of how much your hands shake.
How to do it:
- Paint your nails with a base color and let it dry completely. This step matters more than any other. Back when I was learning, my aunt made me wait at least 20 to 30 minutes before touching the tape. That felt excessive, but if the base is even slightly tacky, the tape peels the color straight off when you remove it. At a minimum, wait 3 to 5 minutes on a firm setting, and longer if you can.
- Before placing the tape on your nail, press it onto the back of your hand two or three times first. This pulls off some of the adhesive so the tape bonds less aggressively to the polish.
- Press the tape diagonally across your nail and firmly seal down both edges with your fingertip so no polish can bleed underneath.
- Paint a contrasting color over the exposed section of the nail.
- Peel the tape off immediately while the second color is still wet. Waiting until the polish dries before removing the tape causes it to crack or chip along the tape edge.
Variation to try: A steep tape angle creates a bold geometric block. A shallow, nearly horizontal angle gives you a delicate sliver of color near the tip, similar to a modern French tip. Try both on different nails.
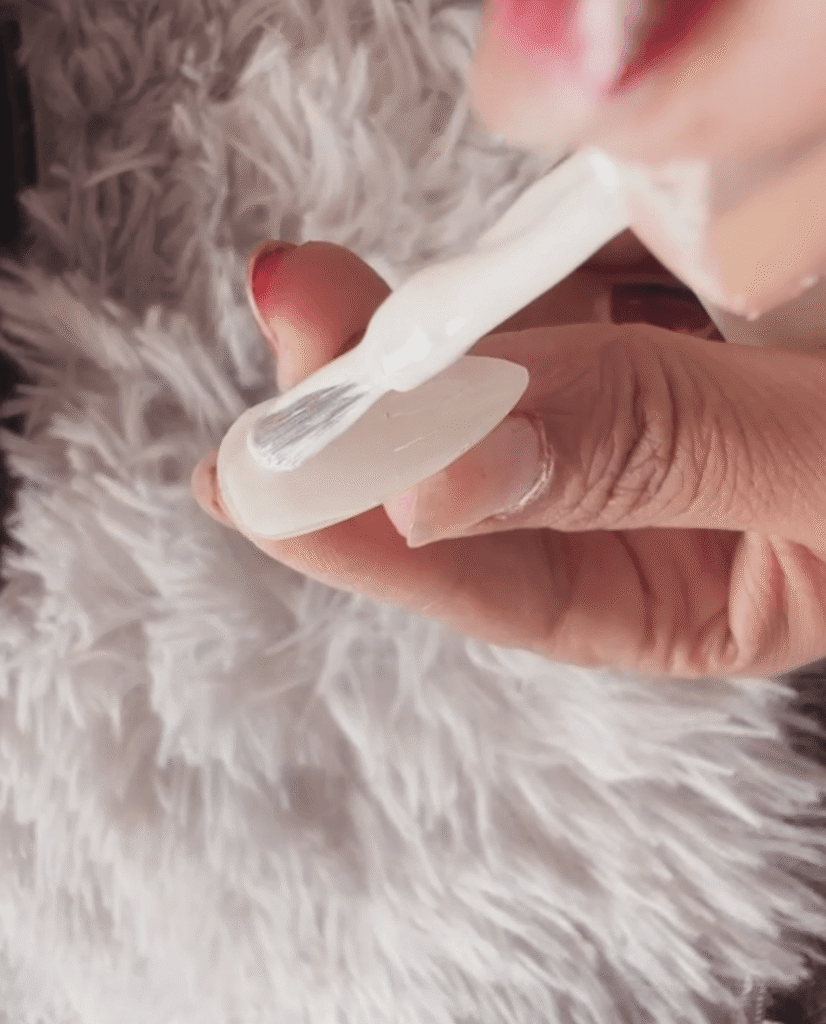
4. Glitter Fade (Gradient Nails)
Time: 5 to 8 minutes per hand
Tools needed: Glitter polish, base color, top coat
Glitter polish is the most forgiving material in nail art.
Full stop. It hides uneven application, blurs messiness at the cuticle line, and disguises any imprecision in the fading gradient.
If you are anxious about precision or you have had frustrating results with other techniques, start here.
The glitter fade concentrates sparkle at the tips of the nails, similar to a classic French tip, then fades it toward the nail bed.
This also has a structural benefit: the extra layering at the tip reinforces the part of the nail that chips first, so the manicure tends to last longer.
This look pairs naturally with the neutral base colors that are popular in the quiet luxury nail trend, and the gradient effect is one of the most requested beginner nail art designs on Pinterest and Google right now.
How to do it:
- Apply a base color of your choice and let it dry.
- Apply glitter polish heavily along the tip of each nail, covering roughly the top third the way you would with a French tip.
- Wipe the brush against the inside of the bottle until only a small amount of glitter remains on the bristles.
- Using the now-lightly loaded brush, dab or gently drag the glitter downward from the tip toward the center of the nail. The glitter should be dense at the tip and fade out naturally as it approaches the middle. This creates a soft “snowfall” gradient effect.
- Apply a thick, generous top coat to smooth the glitter texture and seal everything together.
Extra tip: For a more dramatic gradient, apply a second full layer of glitter at the tip before fading. For something subtler, use a fine-particle glitter polish over a nude base.
5. The 5-Dot Flower
Time: 5 to 10 minutes per hand
Tools needed: Bobby pin, 2 polish colors, toothpick, top coat
This is one of those designs that looks far more complicated than it actually is, and that contrast is exactly what makes it satisfying.
People see it and assume you have advanced nail art skills.
In reality, you pressed five dots in a circle and added one dot in the center.
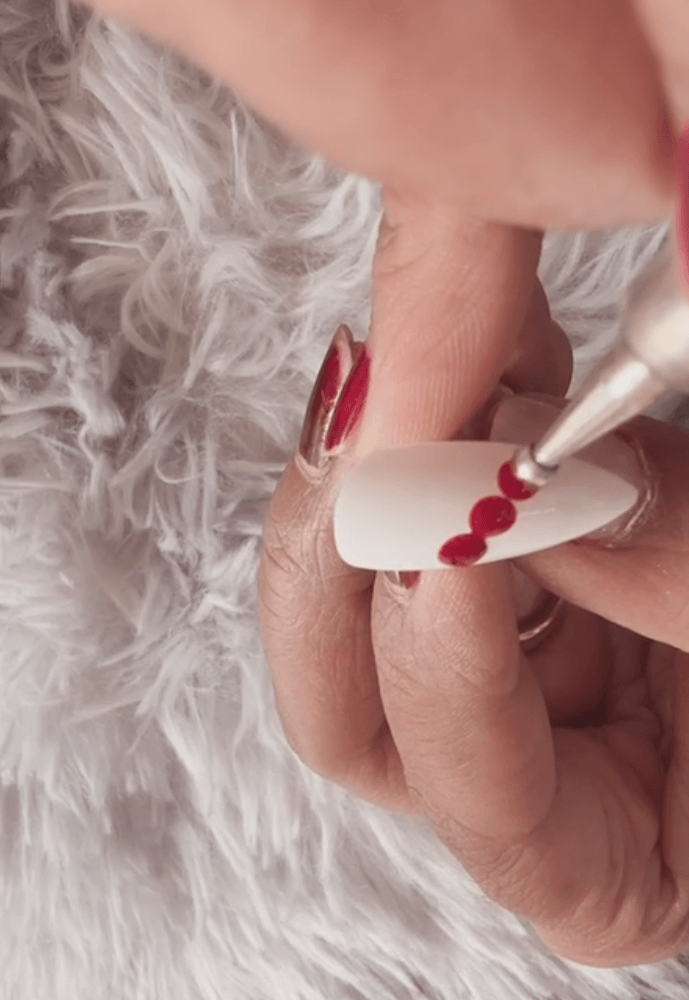
That is the entire design.
I use this technique in beginner classes to prove a point: intricate-looking nail art is often just simple shapes placed with intention.
Once students realize this, something shifts and they stop being intimidated by designs that looked impossible before.
How to do it:
- Using the small rounded tip of a separated bobby pin, dip it into a vibrant polish color.
- Press 5 dots in a rough circle on your nail to form the flower petals. Do not stress about perfect spacing. Slight irregularities in size and placement make the flower look more hand-painted and natural, which is actually more appealing than rigid precision.
- Let the petal dots set for a minute or two.
- Dip the tip of a toothpick or a clean needle into a contrasting color, such as yellow or white.
- Gently press this tip into the center of your 5-dot circle to create a small center dot for the flower.
- Finish with a top coat once the polish has had time to firm up.
Easy variation: Alternate two petal colors, for example pressing pink and coral dots in turns around the circle. This gives the flower a more layered, dimensional look with almost no additional effort.
6. The Negative Space Crescent
Time: 5 to 8 minutes per hand
Tools needed: Hole-reinforcement stickers (paper ring stickers from a stationery shop), nail polish, top coat
The negative space crescent is probably the most practical design on this list, and it has an unusual advantage over the others: it actually improves as your nails grow out.
The unpainted crescent at the base of the nail stays clean-looking for two to three weeks longer than most other designs, because the growing nail just reveals more of the crescent shape rather than creating an obvious gap.
It also solves one of the most common beginner frustrations, which is getting polish on the skin around the cuticle.
Since the base of the nail is intentionally bare, there is nothing to get messy there.
From a trend perspective, negative space nail designs have been growing consistently and are now considered a signature look in both minimalist nail art and the quiet luxury 2026 aesthetic.
This technique puts you at the intersection of beginner-friendly and genuinely current.
How to do it:
- Take the small circular hole-reinforcement stickers (the flat ring stickers used on ring binder pages) and press one carefully onto the base of each nail, right along the cuticle line.
- Paint your chosen polish color over the entire nail, right over the sticker.
- Once the polish is about halfway dry, firm on the surface but still slightly flexible underneath, gently peel the sticker off to reveal a clean crescent shape at the base.
- Apply a top coat to seal and define the edge of the crescent.
Timing is important here: Peeling too early, while the polish is still fully wet, risks color running into the crescent area.
Peeling too late, after the polish is completely rigid, often chips the crescent edge.
The right moment is that middle stage when the polish looks dry but has just a little give if you press it lightly.
Before You Start: One Thing Worth Knowing
Learning nail art is genuinely difficult at the beginning.
The gap between what you see on Pinterest and what comes out on your own hands can feel discouraging in the first few sessions, and that is completely normal.
It happened to me, and it happens to almost every student I have ever taught.
What helped me most early on was practicing the motion before applying it to my actual nails.
Practice pressing dots on a piece of paper first.
Try the tape technique on a flat surface before committing it to a freshly painted nail.
Give yourself a few sessions to understand how your brush responds to pressure before you expect everything to look polished.
These 6 techniques are the ones I return to year after year, both in my salon and in the classroom.
Start with one, practice it until it feels natural, and move to the next when you are ready.
Patience and repetition will take you further than any tool you could buy.
Frequently Asked Questions
What can I use if I don’t have a professional dotting tool or striping tape?
Most of the designs in this guide rely on items you likely already have. A bobby pin works as a perfect dotting tool. Scotch tape creates sharp, perfectly straight lines.
A toothpick handles fine center details. The only additional item for the negative space crescent is a packet of hole-reinforcement stickers, which cost almost nothing at any stationery or office supply shop.
How long should I wait between coats?
For the base coat, wait at least 3 to 5 minutes before starting your design. Any tackiness in the base will cause smearing or, in the tape technique, it will pull the color off when you remove the tape. Between design layers, 2 to 3 minutes is usually enough.
For the final design layer before the top coat, wait until the surface feels firm when you hover your fingertip just above it without touching.
Why does my base polish keep peeling off when I remove the scotch tape?
This happens for two reasons: the base coat wasn’t 100% dry, or the tape is too sticky. Always wait at least 5 minutes before applying tape. To reduce stickiness, press the tape against the back of your hand two or three times to remove some adhesive before putting it on your nail.
Why does my glitter polish look thick and clumpy when I try to fade it?
You are likely leaving too much polish on the brush after the initial tip application. You need an almost “dry brush” to get a smooth fade. Wipe the brush aggressively against the inside of the bottle neck until it looks bare, then drag it down the nail.
How do I fix a smeared dot or flower petal without starting the whole nail over?
Do not try to wipe it off. Let the smeared dot dry completely. Once it is solid, take a tiny detail brush, dip it in your base color, and carefully paint over the smear to “erase” it. Once that dries, try your contrasting dot again.
Why does my top coat smudge or drag the nail art underneath it?
This almost always happens for one of two reasons: the nail art layer was not fully dry before the top coat went on, or you pressed the top coat brush too firmly. Apply the top coat with very light pressure and let the product flow off the bristles rather than pressing it down like paint. The brush should barely touch the surface.
How do I make my nail art last longer without chipping?
A solid base coat underneath your design and a generous top coat over it make the biggest difference. Applying extra polish or glitter at the nail tips, as with the glitter fade method, also reinforces the part of the nail that chips first. Reapplying a thin layer of top coat every two to three days after the initial manicure also extends the life of the design noticeably.
Do professional nail techs actually use these home techniques?
Yes. These 6 techniques cover foundational skills that formal nail education builds on. Understanding how to control brush pressure, work with tape guides, create gradient fades, and build dot symmetry are all part of early professional nail training.
Practicing these at home gives you a genuine head start before formal classes, and the muscle memory you build now carries directly into professional practice in my salon.